All posts by Steve

8/31/2022 ADI Microphone Cord Replacements

Over the years I’ve had numerous requests to replace the cords on ADI microphones but I never had a rig to test them out on. Well that has changed. I recently picked up an AR146 that needed some serious TLC to get it back up and running but it now works great!

I’ve replaced the cords on 4 ADI microphones over the past couple of years without having a rig to test them on and all but one tested good when they eventually made it home to their owners. The one that wasn’t fully working belonged to a suspect rig so the jury is still out whether it was my repair or the rig itself. I never heard back from the owner so who knows.

The microphones I have done are the ones for the AR146 which is the plain old DTMF microphone and the AR147 microphone which has the lighted DTMF keypad and an RF Choke on the connector end. I tested both microphones on both the AR146 and AR 147 transceivers so I know they are interchangeable.

The cost to replace the cord on either of these microphones is $45 and that includes the new cord, the replacement, and return shipping. If I can find the cords cheaper then the overall price will be reduced as well but here lately everything keeps going up in price. If you’d like for me to replace the cord on your ADI microphone, just hit me up on the Contact Me page and I’ll be notified.

Here are a couple before/after pics of an AR147 microphone I did last year. You can easily see how a new cord makes such a huge difference. As a plus, you also maintain all of the original functionality instead of having paid about the same price for a new microphone that only gives you TX Audio.

I am still doing the HTX 212/242/252 microphones as well so if you need help with any of those, just let me know.

Thanks & 73!

KU4BY

HTX-212 & 242 Microphone Cord Molex Connector Removal

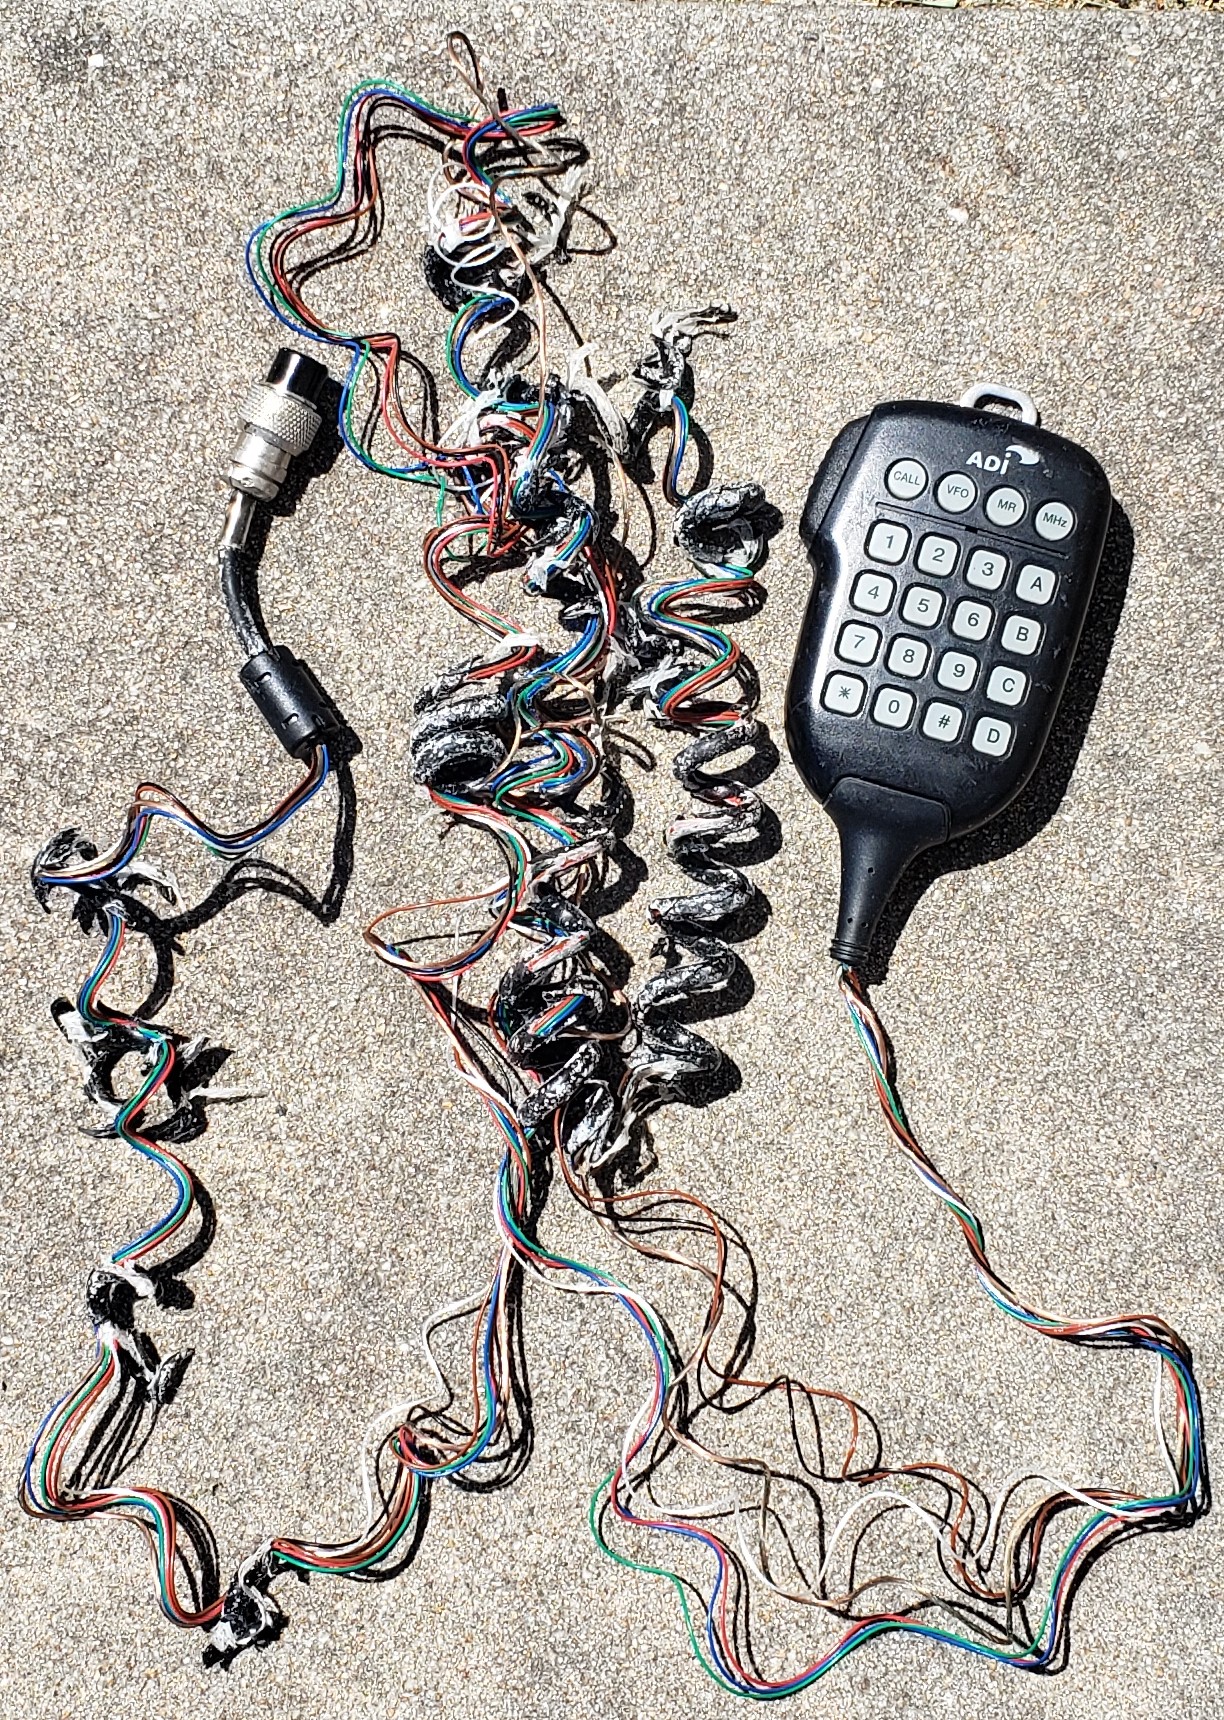
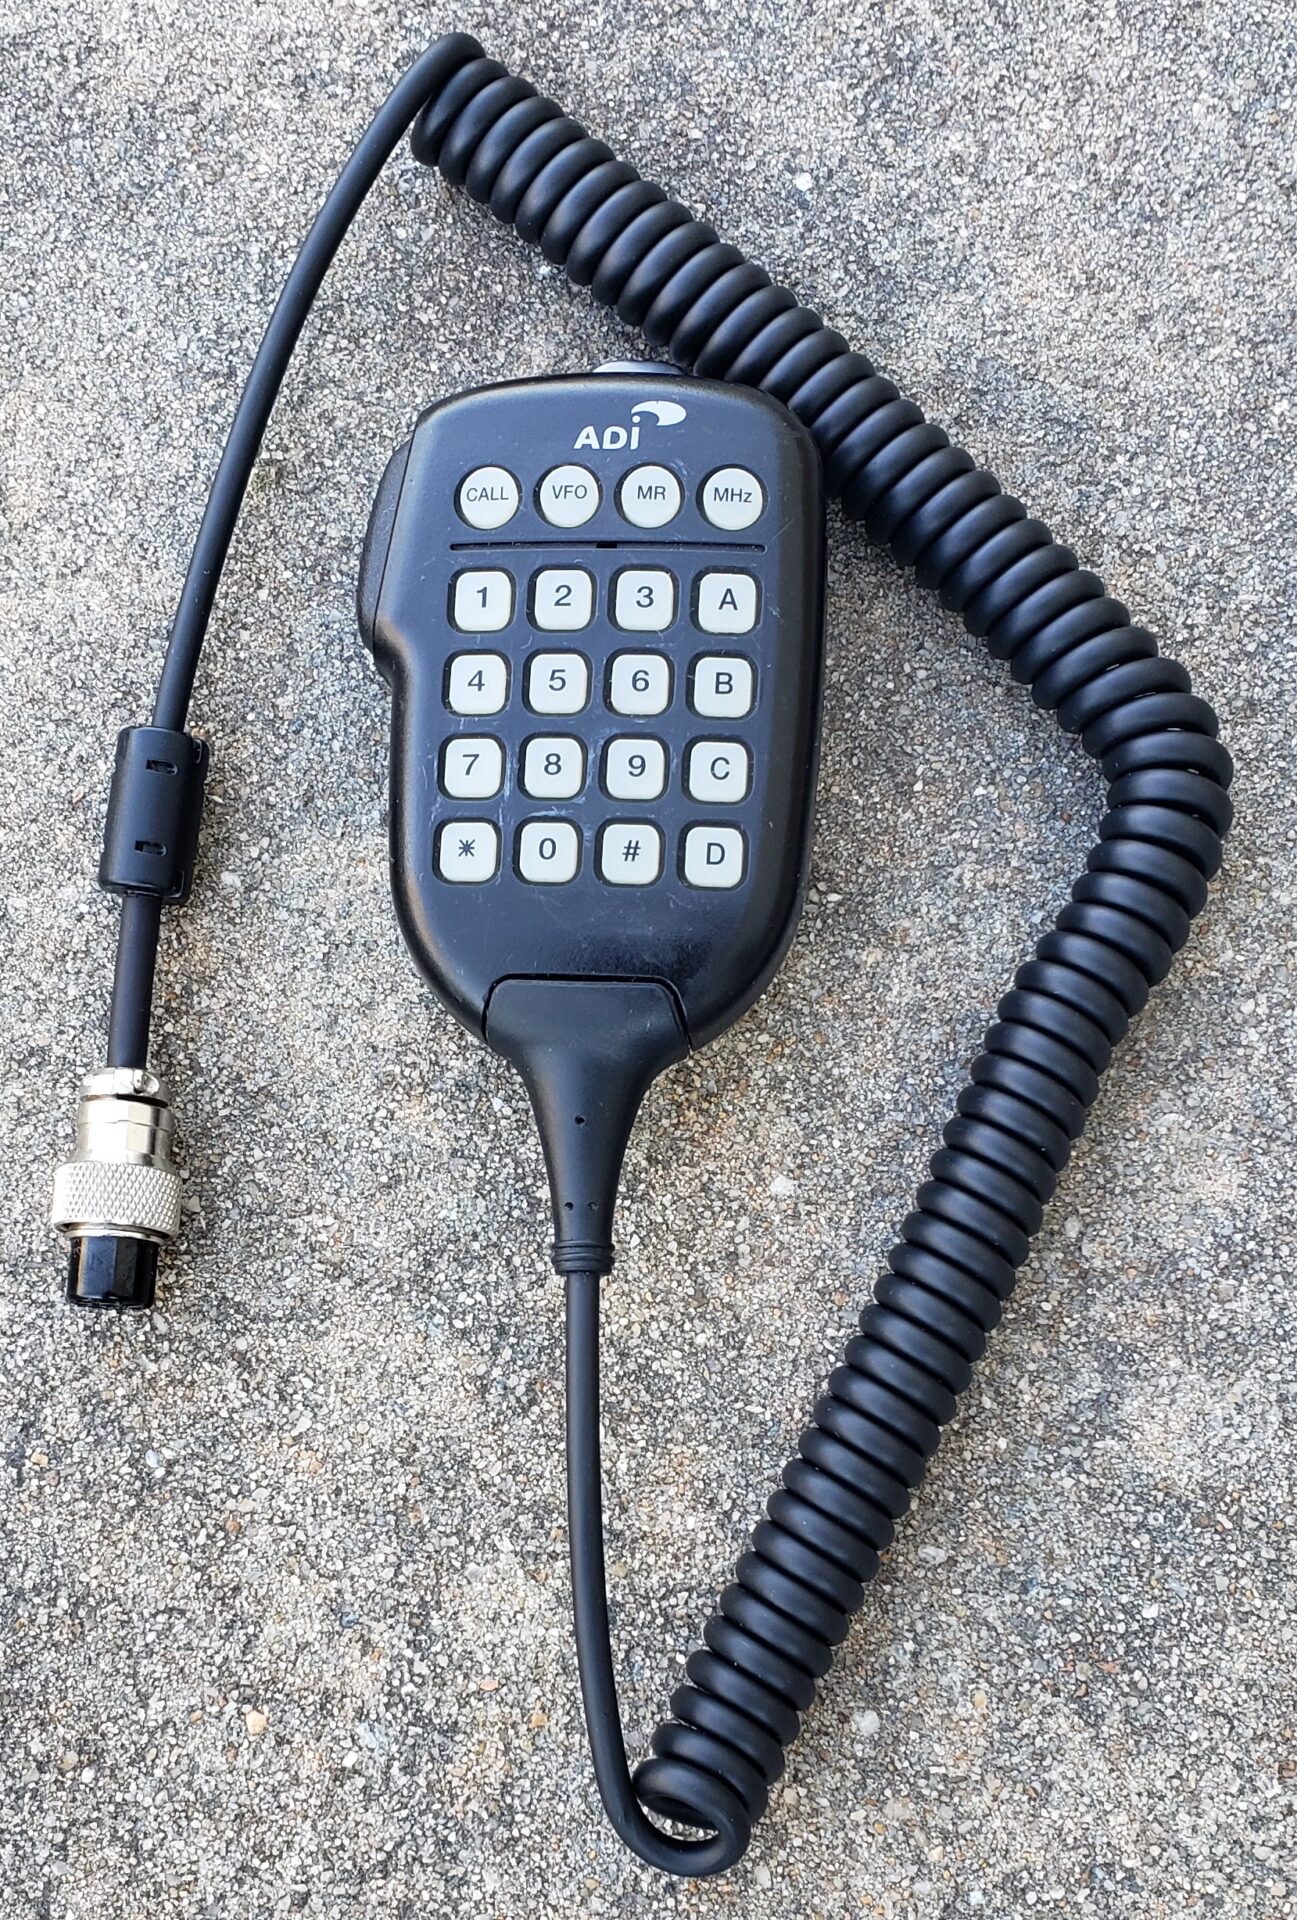
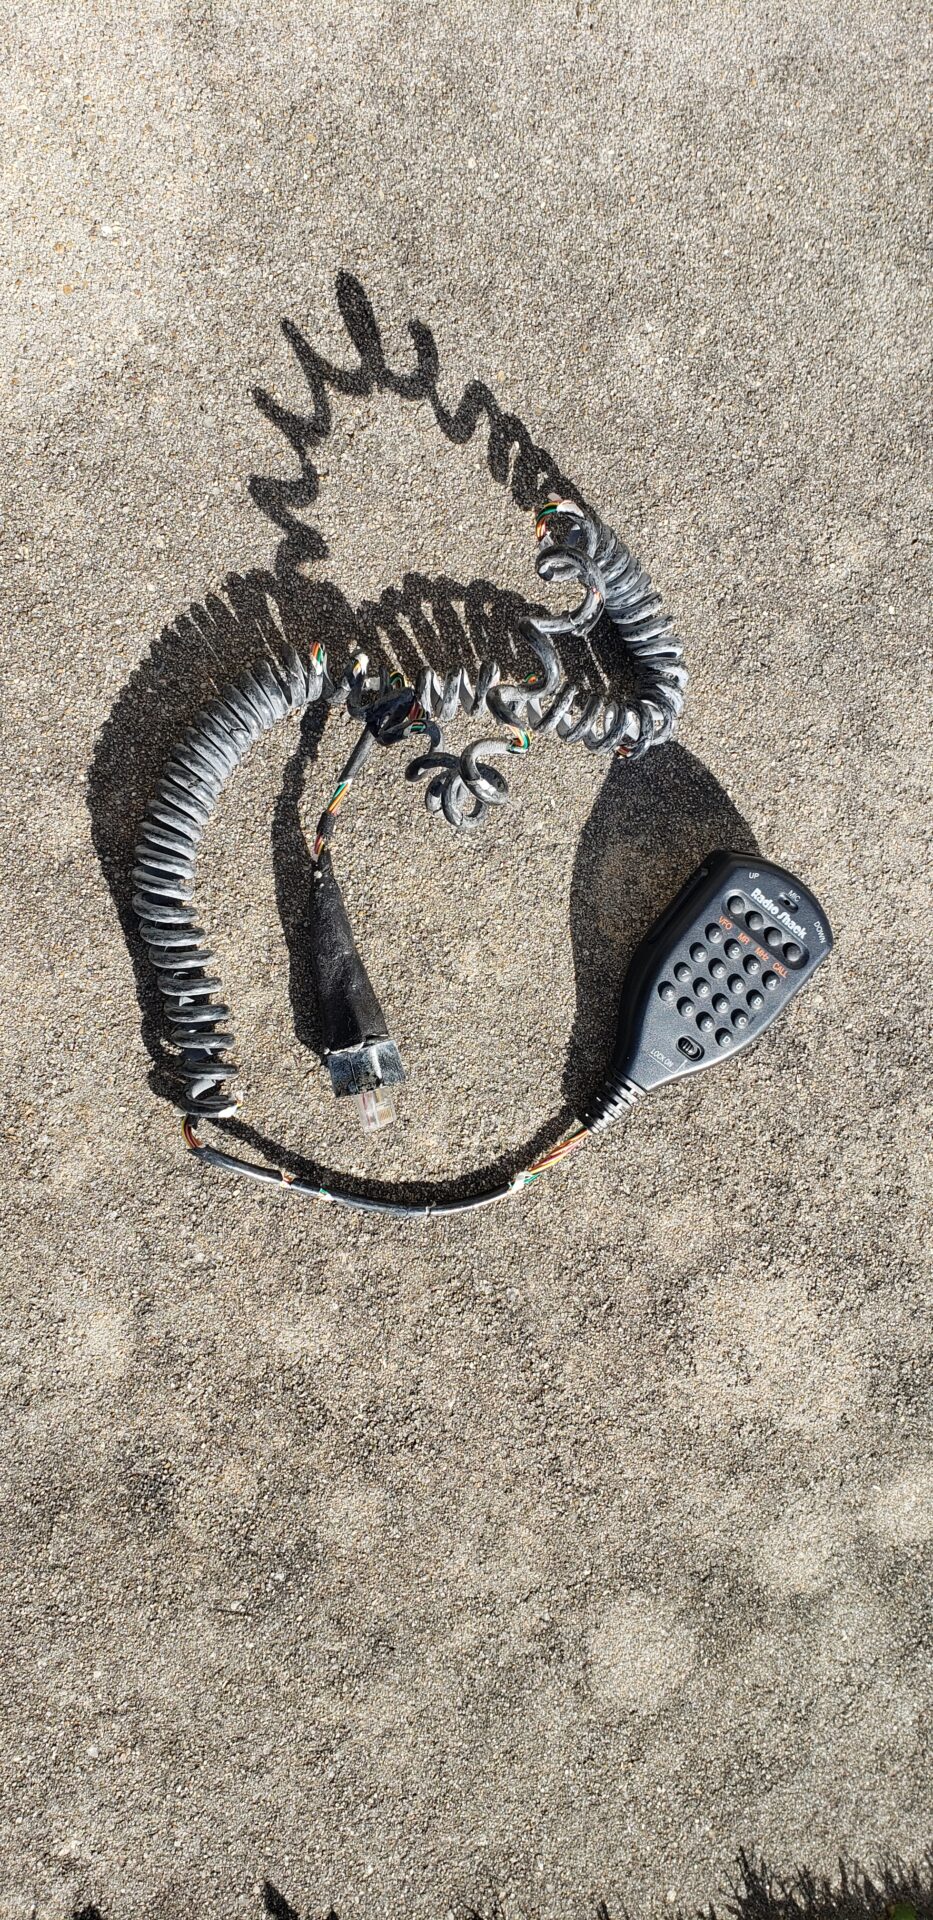
I’ve noticed an uptick in the HTX-212 / HTX-242 microphones that I receive for repair where the solder pads and/or traces are damaged and/or missing altogether so I wanted to touch on a few things in case you are planning to attempt your own cord replacement. This post is not intended to shame anyone who has sent me a damaged board, just trying to prevent more damaged boards in the future.

The solder pads on this series of microphones are through hole pads meaning there is copper that goes from one side of the board through the hole to the other side of the board. This is the strongest solder joint you’ll ever obtain when soldering a conductor to a PCB because you have a connection across the entre section of the conductor that goes through the hole instead of on either just one side or both sides. This also means it is the toughest type to desolder from the board as well.

There are a few different ways to desolder the connector off of the microphone. You can add some liquid flux, melt the solder, and use a vacuum bulb or “solder sucker” to suck out a majority of the solder for each pin. You can use some liquid flux and some wicking braid aka desoldering braid and watch the solder flow away from the joint into the braid. Also, if you have a pair of wire cutters with thin enough blades, you can cut the connector 7 times between each conductor and then treat the removal like you were removing 8 separate conductors instead an 8 pin connector. I did this a couple times but doing it prematurely destroyed my snips and I got tired of buying new ones. If you’re only doing this once it’s probably not a big deal. You’re not reusing the connector anyway so why not destroy it?

What I have found to work the best for me is to put some liquid flux on the solder side of the connector over all 8 of the pins. Then I take a chisel tip on my soldering iron and quickly slide it back and forth between all 8 pins. While doing this, I apply a little pressure on the connector side of the board to pry the connector away from it. This does two things. First, it keeps all of the solder joints a little melted all at once which allows me to be able to slowly pry the connector out. Secondly, it doesn’t allow any one of the joints to overheat which can cause some of the damage I have been seeing on the mics I receive. Sometimes this is a really quick way to remove the connector but sometimes it takes a little bit longer. Once the connector is removed, there is bound to be some left over solder so at that point I just drop some more liquid flux and hit the pads with some wicking braid and it all comes off looking shiny and new.

Definitely avoid overheating the board though. If you overheat the area of the HTX-242 microphone board closest to the right edge, the surface mount inductor”L1″ just above the plug will come loose and possibly fall off opening up the 5V line powering up the mic itself. Don’t ask how I figured that one out… Also, don’t ever apply too much pressure when trying to remove the connector as this could, and often does, result in damaging the pad and/or trace connected to it. There is very little space inside these microphones to allow for modifications as to where new solder connections can be made. It is always best, and strongest, to be able to solder the new cord back to the board via the through hole pads. A few of them I have done didn’t allow me to do that so I connected it where I could and then stabilized the connection with some hot glue in hopes that the conductor never gets pulled away from the board. The stress relief should take care of this part but the stress reliefs are a story for a different day… Hahaha

Replacing the cords on the 212/242 series mics isn’t really all that complicated and I still replace them all the time for $45. If you want to attempt to do it yourself, go for it! If you have questions before you attempt to do it yourself, hit me up on my Contact Me page and I’ll be happy to discuss it with you. Whether you do it or I do it, the important thing is that it is done correctly to avoid damaging the mic board to a point of no return because you obviously can’t find replacements out in the wild anywhere.

TTFN

73!

Steve

6-1-2022 Update

Hello World! I’m still here and I’m still replacing microphone cords for the HTX 212/242/252 microphones if anyone is interested.

HTX-252 microphones are $40 and the HTX-212/HTX-242 microphones are $45. That includes the new cord, the repair, and return shipping back to you. These are the prices if you hit me up through the Contact Me page linked at the top of the page.

I also have these services listed on eBay for those who feel safer working through a 3rd party but it costs a little more due to their fees which are typically 13%. Here is a link to the eBay auction if you prefer to go that route.

I also just added a new page to the site that shows how many mics I’ve repaired and where they’re located throughout the country. It’s pretty interesting. You can find it here if you want to check it out.

Thanks & 73!

KU4BY

It’s been a while…

It’s been a while since I did anything with this site. I’ve been playing around a lot with the KiwiSDR and not paying as much attention to my webmaster duties. Sorry about that.

I am still replacing mic cords as necessary. I’ve done about 7 already this year and should have another one arrive in the mail today. So if you’re here because you’ve been searching for ways to rectify your crumbling mic cord, you found the right place.

Just hit the Contact Me link at the top of the page and let me know. The cost of the cords did go up last year like everything else but I’m trying to stay as reasonable as possible. Here’s the breakdown:

HTX 252 microphones ……………………………… $40

HTX-212 & HTX-242 microphones ……….. $45

These prices include the repair, the new cord, and return shipping. Turn around times are typically a couple days after I receive the mic.

If you have any questions, just Contact Me.

Thanks & 73!

Steve KU4BY

Contact Me Issue resolved for now…

I’ve had a few folks contact me and tell me that the Contact Me page wasn’t working but each time I tested it out it worked just fine, until today… It turns out the theme I was using was causing the error so I changed it up a bit to see if that would fix it. It did. So I am running a different theme on here for the time being and it appears everything is back to normal at this point. Sure it looks a little more professional than it did before, but I miss the old wood grain look so I am still going to look into making that theme work once again!

Also I am still replacing the cords on the microphones for anyone who needs one. Try the Contact Me page first as that is the quickest way to get a hold of me. If that doesn’t work, my call @ ku4by.com works also.

73 for now!

KU4BY

Welcome to 2020 Won!

Well as bad as 2020 was, it was a busy year for me somehow. I finished off the year replacing the mic cords on 38 microphones and my eyes are feeling it! I replaced the cords on 26 HTX-252 mics, 8 HTX-242 mics, and 4 HTX-212 microphones. Over the past 5 1/2 years I’ve done about 110 total.

Granted, I just started doing the 212 and 242 microphones in 2020 but even the 26 HTX-252 microphones is more than I’ve done in a single year previously. I guess it could be the lock downs or the stimulus checks, but they were distributed pretty much evenly throughout the year, Thank God!

As mentioned in a previous post, I’ve been doing these mics for $35 each for the past 5+ years even though the prices of shipping and supplies have been steadily increasing. I do this as needed more so to help others keep their trusty rigs on the air than to get rich but I have to draw a line between being paid to do them and paying to do them.

So from now on I’ll be charging $40 if you Contact me from this site for each of the 3 types of microphones. Of course that varies if you provide the cord or send multiple mikes.

The eBay auction is still up if you prefer to go that route. eBay has stated that they’re changing the way sellers get paid and that might take PayPal out of the equation. If it does then I’ll probably lower the price on the auction but for now it has to be a bit higher due to all of the fees involved.

If you need references, you can check my Feedback on eBay or hit me up and I’ll dig up a few for ya.

Here’s a pic of a 242 mike I received for repair.

And here’s what they look like when I’m done.

That’s it for now. Happy New Year All!

73!

KU4BY

KIWISDR Is Up and Running!

So I recently acquired a KiwiSDR which is a software defined receiver for listening to Shortwave via the PC. Overall its pretty cool. The problem is that I am not an antenna designer or builder, never have been. So I made a simple long wire to test it out and it does OK but not great.

For now it lives in my shed as my QTH is a noisy environment. If you have any ideas on what would make a decent but not too invasive SWL antenna, feel free to give me some hints below!

In the meantime, if you want to see how the KIWISDR works, you can access it online at http:\\kiwisdr.ku4by.com:8073. There are 4 receivers but I’m usually taking up one of them. Some of the bands are still quite noisy but the MW and 49Meters and up bands seem to be usable.

The interface looks a little intimidating at first but give it a shot. It gets easier after a bit.

If you have any questions, let me know!

73 for now!

KU4BY

12-10-2020 Something Fun!

Well it’s been a few since I added any updates so I wanted to hop back on and let everyone know that I am still doing the cord replacements for the HTX-212, HTX-242, and HTX-252 microphones if you have one that had deteriorated. Just hit up my Contact Me page and let me know about it!

I’ve done well over 100 of these microphones over the past 5 years and I got to wondering how they were geographically distributed around the country. So I did some research and found a site that will map out locations copied from a spreadsheet and I gave t a shot.

What I found was interesting because most of the microphones were from the East Coast along with a few from the Mid West and along the West Coast. And then there’s that one guy in the North East corner of Utah…

Well if it shows up correctly, the map should be below.

That’s it for now.

73!

KU4BY

View Mic Locations in a full screen map

HTX-212 HTX-242 HTX-252 Wiring Info

I had a few requests for the wiring info for these mics so I put this little cheat sheet together. You can see that the 212 and 242 microphones are both wired up the same way but I separated them because they both have individual part numbers. The RJ-45 images are for pin reference only, ignore the wire colors.

The PDF version of this sheet is available here.

73!

Steve KU4BY

9-25-2020 Update

For those interested, I’m still doing the microphone repairs for the HTX-212, HTX-242, and the HTX-252 microphones. There are a few more steps in the 212/242 repair so please be patient when shipping me those.

Right now I do all repairs for $35 but that is going to change soon as some materials that I use, such as the cords, have all gone up a little in price since I started doing these 5 years ago. I don’t do this to get rich but the 212/242 microphones require new cords and RJ45 connectors so I think I’m gonna bump up the price of the 212/242 microphones up to $40 to cover the extra supplies needed like hot glue, RJ-45 connectors, cords, etc…

I’m gonna set a start date of 1 JAN 2021. So if you’d like me to replace the cords on your 212/242 microphones for $35, now’s your chance to get it done before the price goes up!

I do still offer the repair on eBay but that price has to be higher due to the fees involved. I just leave that up there for anyone who feels more comfortable going that route.

With that said, I just updated the HTX-212 / HTX-242 Microphone Cord Replacements page with some pics and things I’ve found while doing some recent repairs.

As always, if you need to contact me you can do that here or send an e-mail to “mycall”@arrl.net.

Thanks & 73!

Steve KU4BY