Well it took me a lot longer than it should have but I finally found a cord suitable to replace the old deteriorating cords on the HTX-212 and 242 radios.
If you’d like to do this repair yourself, the cord I am using is (Affiliate Links – As an eBay Partner, I may receive compensation if you purchase through links on this site.) here.
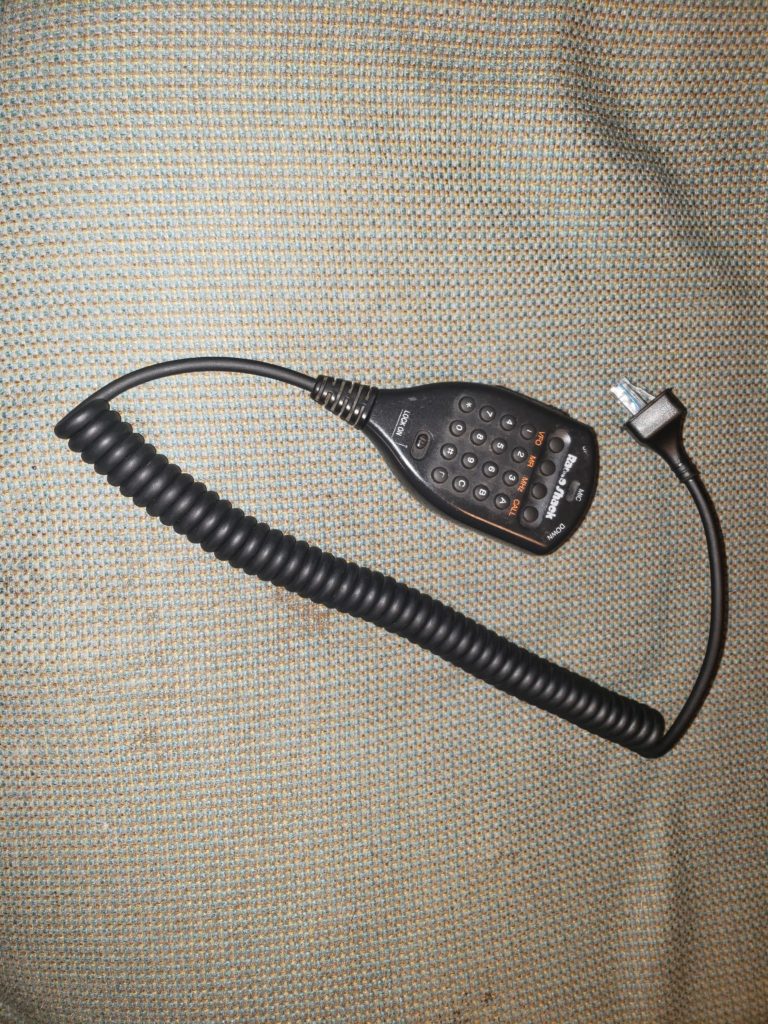
You can see the finished project above. It came out great. I used a bigger boot on the radio end because of what I had on hand but I am going to use a smaller one next time to make it closer to the original size to fit the indention in the front panel.
More pictures to come soon but if you’d like for me to change out the cord on your HTX-212 or HTX-242 microphone, I can now do that as well! The cost would remain $35 through my site and I’ll have a separate auction on Ebay for the 19-1125 microphone which will cost $45 due to the fees associated with Ebay and PayPal. Use the Contact Me page to hit me up so I can make sure I have the cords in hand as I need to order some.
Turn around time on these is about the same as the HTX-252 cords but maybe a day more because there are a few additional steps involved in taking the microphone completely apart to remove the old cable and the stress relief on my cable was glued to the cord so I had to play around with that to get it off and reuse it.
9/25/2020 – Notes on the repair:
I’ve done about 10 of the 212/242 microphones over the past couple of months and here are a few of the things I have noticed.
- Although the 212 and 242 microphones are interchangeable between the 212 and 242 radios, they are in fact a little different on the inside.
- The manufacturer glued both the stress relief and the RJ-65 boot to the cord which means it’s hard to remove unless you use heat.
- The Molex connector on the circuit is a PITA to remove unless you use a large soldering iron tip and slide it back and forth.
- These new cords are great but the conductors are a smaller gauge so it’s important to keep the stress off of the connections on the board with some dabs of hot glue.
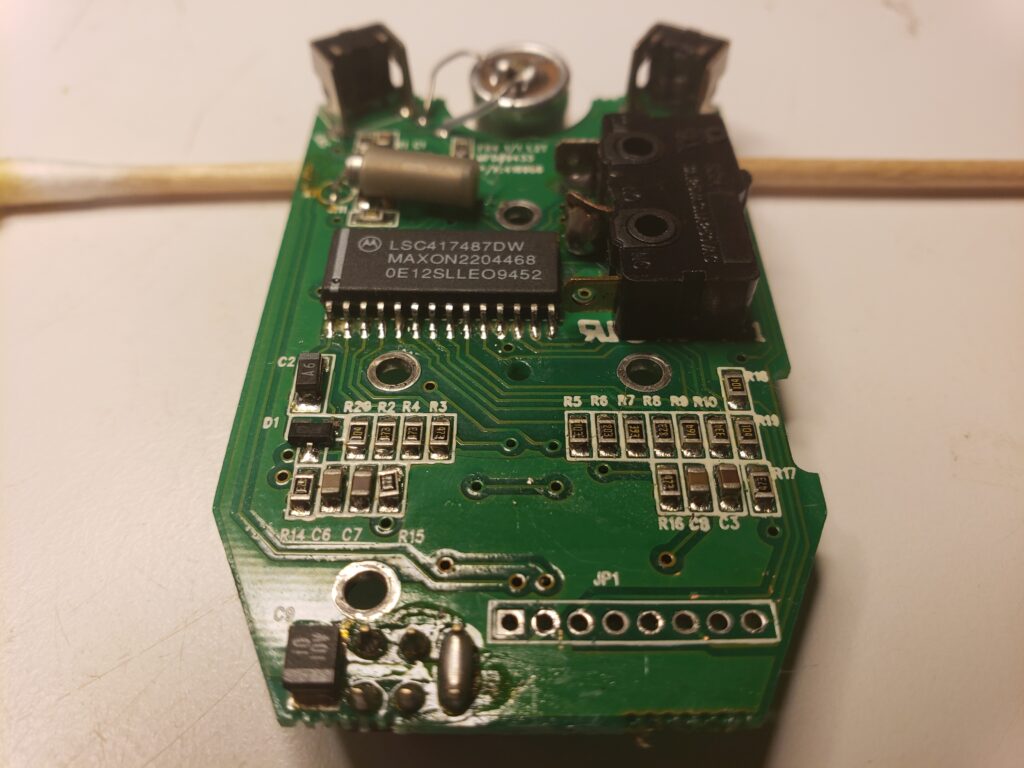
- The microphone has to be taken completely apart to get to the solder joints underneath the board. The mic elements are hot glued to the case so this can be fun…
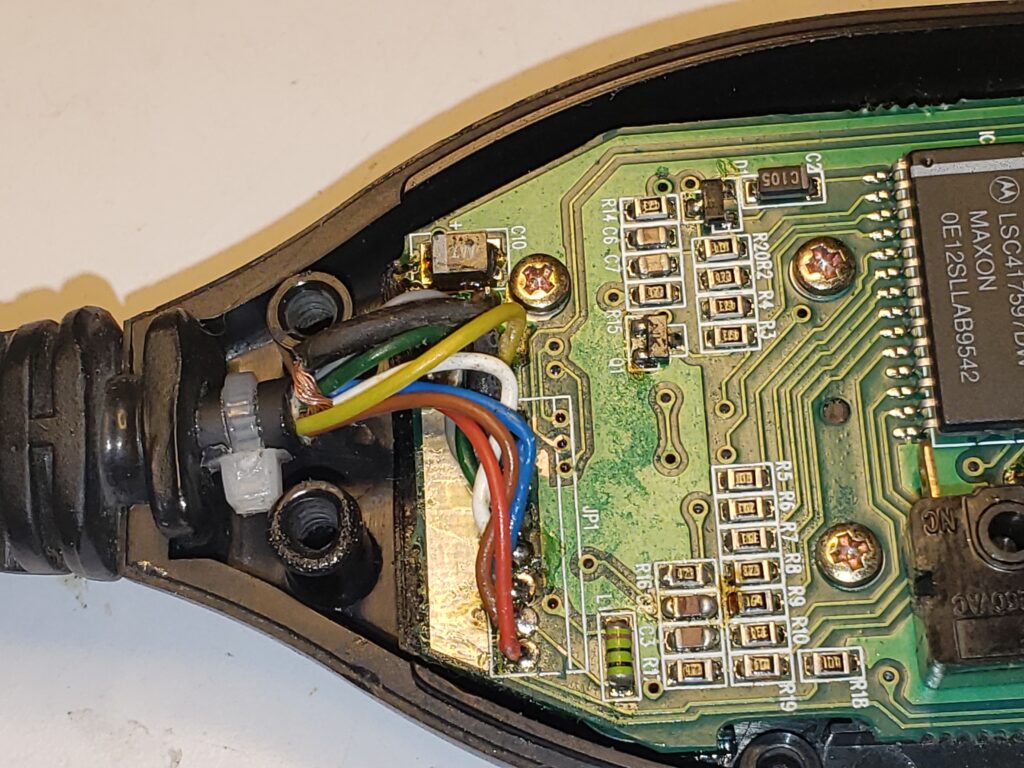
You can see above how I run the wires straight to the board. I use the tiny zip-ties to help with strain relief. Once I’m done with this, I fill in some hot glue around the zip-tie and over the conductors to hold them in place. Then I button up the mic case and the cord doesn’t move a bit.
I’ll add more pics as I think about taking them.
If you have any questions, feel free to Contact Me!
73!
KU4BY
Are you still doing the HTX-212 mic repair ?
I see that the link to just the cord, Ebay, does not work.
Same here. I’m looking either for the link to the EBay page, or the make and model number of the correct cord. I’ve tried 3 so far with no success.